How to Perform Tissue Testing on Cannabis

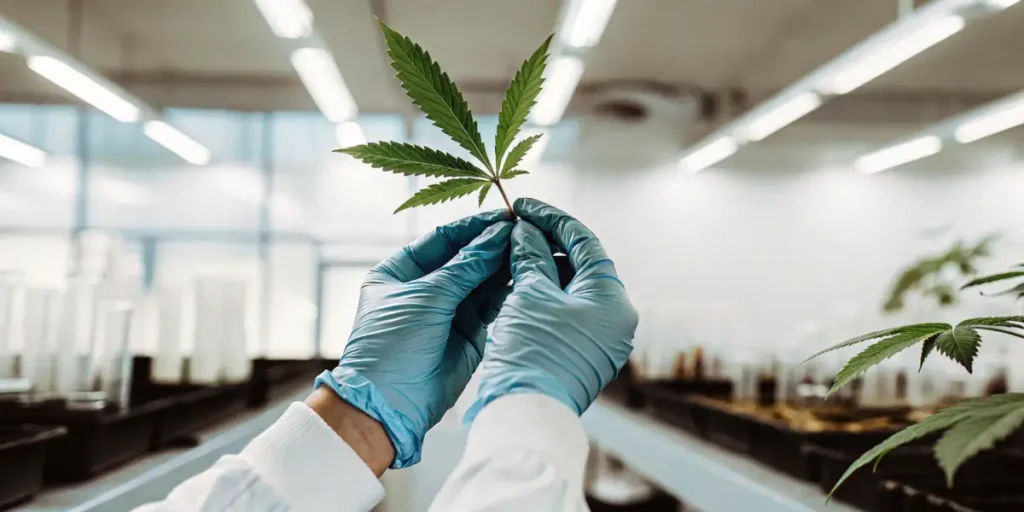
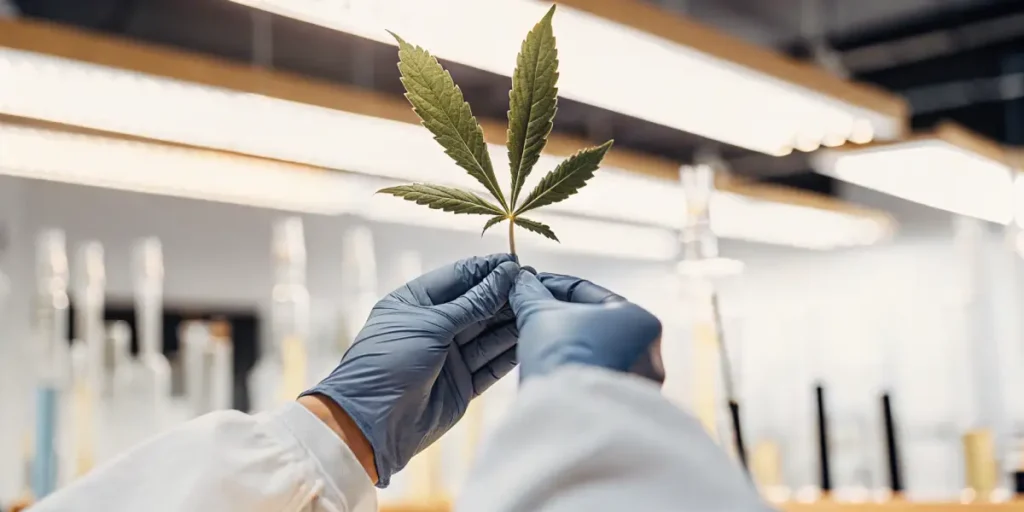
Knowing how to perform tissue testing on cannabis can significantly enhance your cultivation strategy. This method provides insights into the nutrient status of your plants, helping you to optimize their growth conditions. Whether you’re a first-time buyer of cannabis seeds or an experienced grower, tissue testing can be a valuable tool in ensuring the health and productivity of your crop.
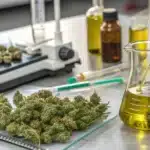
Tissue testing involves analyzing plant samples to determine their nutrient content. By evaluating these nutrient levels, growers can make informed decisions about fertilization and other aspects of plant care. This process is essential for identifying deficiencies or toxicities before they manifest as visible problems in your plants.
Recommended Strains
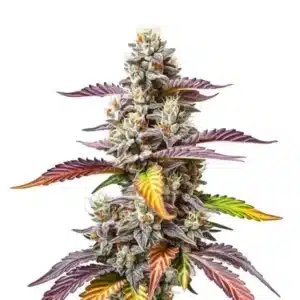
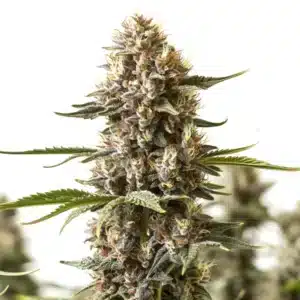
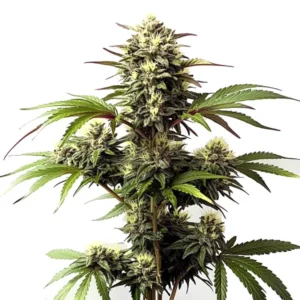
Pink Gorilla
| | THC | 18% - 22% (Medium) |
| | Type | Feminized |
| | Yield | High |
| | Phenotype | 75% Indica / 25% Sativa |

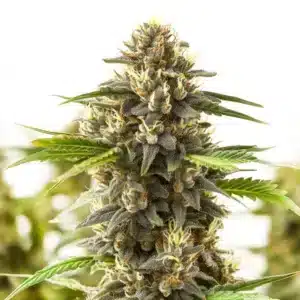
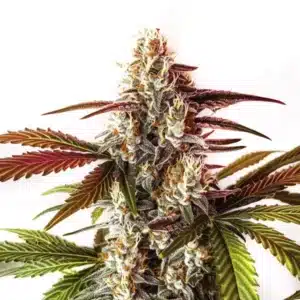
Tangie
| | THC | 19% - 22% (Medium) |
| | Type | Feminized |
| | Yield | High |
| | Phenotype | 30% Indica / 70% Sativa |
In this article, we’ll explore the various cannabis tissue nutrient testing methods, provide a step-by-step guide for cannabis tissue testing, and highlight best practices for cannabis tissue analysis. Our goal is to equip you with the knowledge and skills to implement these techniques effectively, ultimately leading to healthier and more productive plants.
Why Knowing Cannabis Tissue Testing Matters
Performing tissue testing on cannabis is crucial for several reasons. First, it allows growers to detect nutrient imbalances early, preventing potential yield loss. By analyzing cannabis tissue samples, you can adjust your nutrient regimen to meet your plants’ specific needs.
Another benefit is the ability to fine-tune your cultivation strategy. With precise data on nutrient levels, you can tailor your feeding schedule, ensuring optimal growth and maximizing potency. This is especially important for high-value strains where every detail counts.
Promos & Deals
Step-by-Step Guide for Cannabis Tissue Testing
Starting with the right technique is essential for accurate results. Here’s a simple step-by-step guide to help you get started:
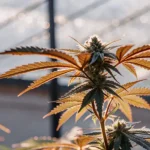
- Sample Collection: Choose healthy leaves from the middle section of your plant.
- Sample Preparation: Rinse the leaves with distilled water and pat dry.
- Analysis: Use a reliable lab or a DIY testing kit to analyze the samples.
- Interpretation: Compare your results with standard nutrient values to identify any discrepancies.
Following these steps will help you perform tissue testing on cannabis effectively, ensuring that your plants are on the right track.
Best Practices for Accurate Cannabis Tissue Analysis
Maintaining consistency in your testing process is key. Always collect samples at the same growth stage, and from the same part of the plant. This ensures that your data is comparable over time.
Another best practice is to record all your findings meticulously. Keep a log of the results, noting any changes in your cultivation practices or environmental conditions. This habit will help you identify trends and make informed decisions.
Showcasing Cannabis Strains for Tissue Testing
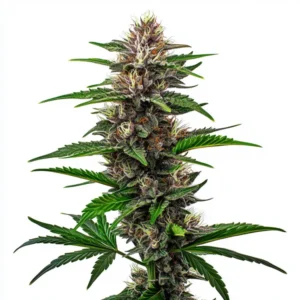
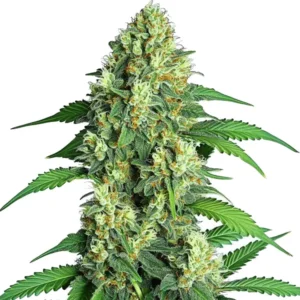
Blue Dream
The Blue Dream strain is known for its balanced effects and ease of growth. It’s a great choice for both beginners and experienced growers looking to practice tissue testing. This strain’s resilience makes it ideal for experimenting with nutrient adjustments.
- Yield: High
- Flowering: 8-10 weeks
- THC: 17-24%
- Terpene Hints: Berry, Sweet
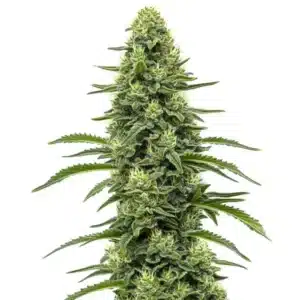
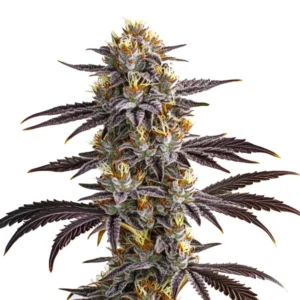
Tangie
Tangie is celebrated for its citrusy aroma and uplifting effects. This sativa-dominant strain thrives in various conditions, making it perfect for testing different nutrient regimens. With Tangie, you can observe how slight changes in nutrition impact growth and flavor.
- Yield: Medium
- Flowering: 9-10 weeks
- THC: 19-22%
- Terpene Hints: Citrus, Sweet
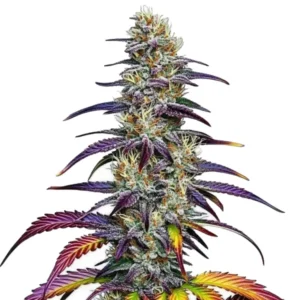
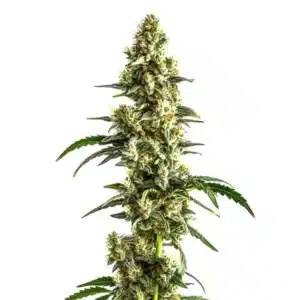
Pink Gorilla
Pink Gorilla is a potent strain with high THC levels, making it a favorite among experienced growers. Its robust nature allows for experimentation with tissue testing, offering insights into how nutrient variations can enhance cannabinoid production.
- Yield: Medium
- Flowering: 8-10 weeks
- THC: 18-22%
- Terpene Hints: Earthy, Pine
Frequently Asked Questions about How to perform tissue testing on cannabis
What is tissue testing in cannabis cultivation?
Tissue testing in cannabis cultivation involves analyzing the nutrient content of plant tissues, primarily leaves, to determine the levels of essential nutrients. This testing helps growers understand the nutritional status of their plants and make informed decisions about fertilization and nutrient management.
The process typically involves collecting leaf samples from specific parts of the plant, preparing them for analysis, and then using either laboratory services or at-home testing kits to determine nutrient levels. This information is crucial for optimizing plant health and maximizing yields.
How often should I perform tissue testing on my cannabis plants?
The frequency of tissue testing depends on your cultivation goals and the specific needs of your plants. For most growers, conducting tests at key growth stages, such as vegetative and flowering phases, provides valuable insights into nutrient requirements.
Regular testing allows you to adjust your nutrient regimen proactively, ensuring your plants receive the right balance of nutrients throughout their growth cycle. This practice can prevent nutrient deficiencies or toxicities, leading to healthier plants and better yields.
What are the common methods for cannabis tissue analysis?
Common methods for cannabis tissue analysis include laboratory testing, at-home testing kits, and digital nutrient meters. Laboratory testing is the most accurate but can be costly and time-consuming. At-home kits offer a more affordable and convenient option, though they may not be as precise.
Digital nutrient meters provide real-time data on nutrient levels in soil and water, which can complement tissue testing by offering a more comprehensive view of the plant’s growing environment. Each method has its advantages, so the choice depends on your specific needs and resources.
What tools are essential for cannabis tissue testing?
Essential tools for cannabis tissue testing include clean scissors or pruning shears for sample collection, distilled water for rinsing samples, and storage bags or containers to keep samples fresh until analysis. Additionally, you’ll need access to a laboratory or an at-home testing kit.
If using at-home kits, follow the manufacturer’s instructions carefully to ensure accurate results. Some growers also invest in digital nutrient meters to complement tissue testing, providing a more comprehensive knowing of plant health.
Can tissue testing help improve cannabis potency?
Yes, tissue testing can play a role in improving cannabis potency by ensuring that plants receive the optimal balance of nutrients throughout their growth cycle. Nutrient imbalances can affect the production of cannabinoids and terpenes, which are responsible for the plant’s potency and aroma.
By regularly performing tissue tests and adjusting your nutrient regimen accordingly, you can enhance the quality and potency of your cannabis plants. This approach also helps prevent issues that could compromise yield and overall plant health.